How to Run Your First Automated Test With TestSprite
 Zeshi Du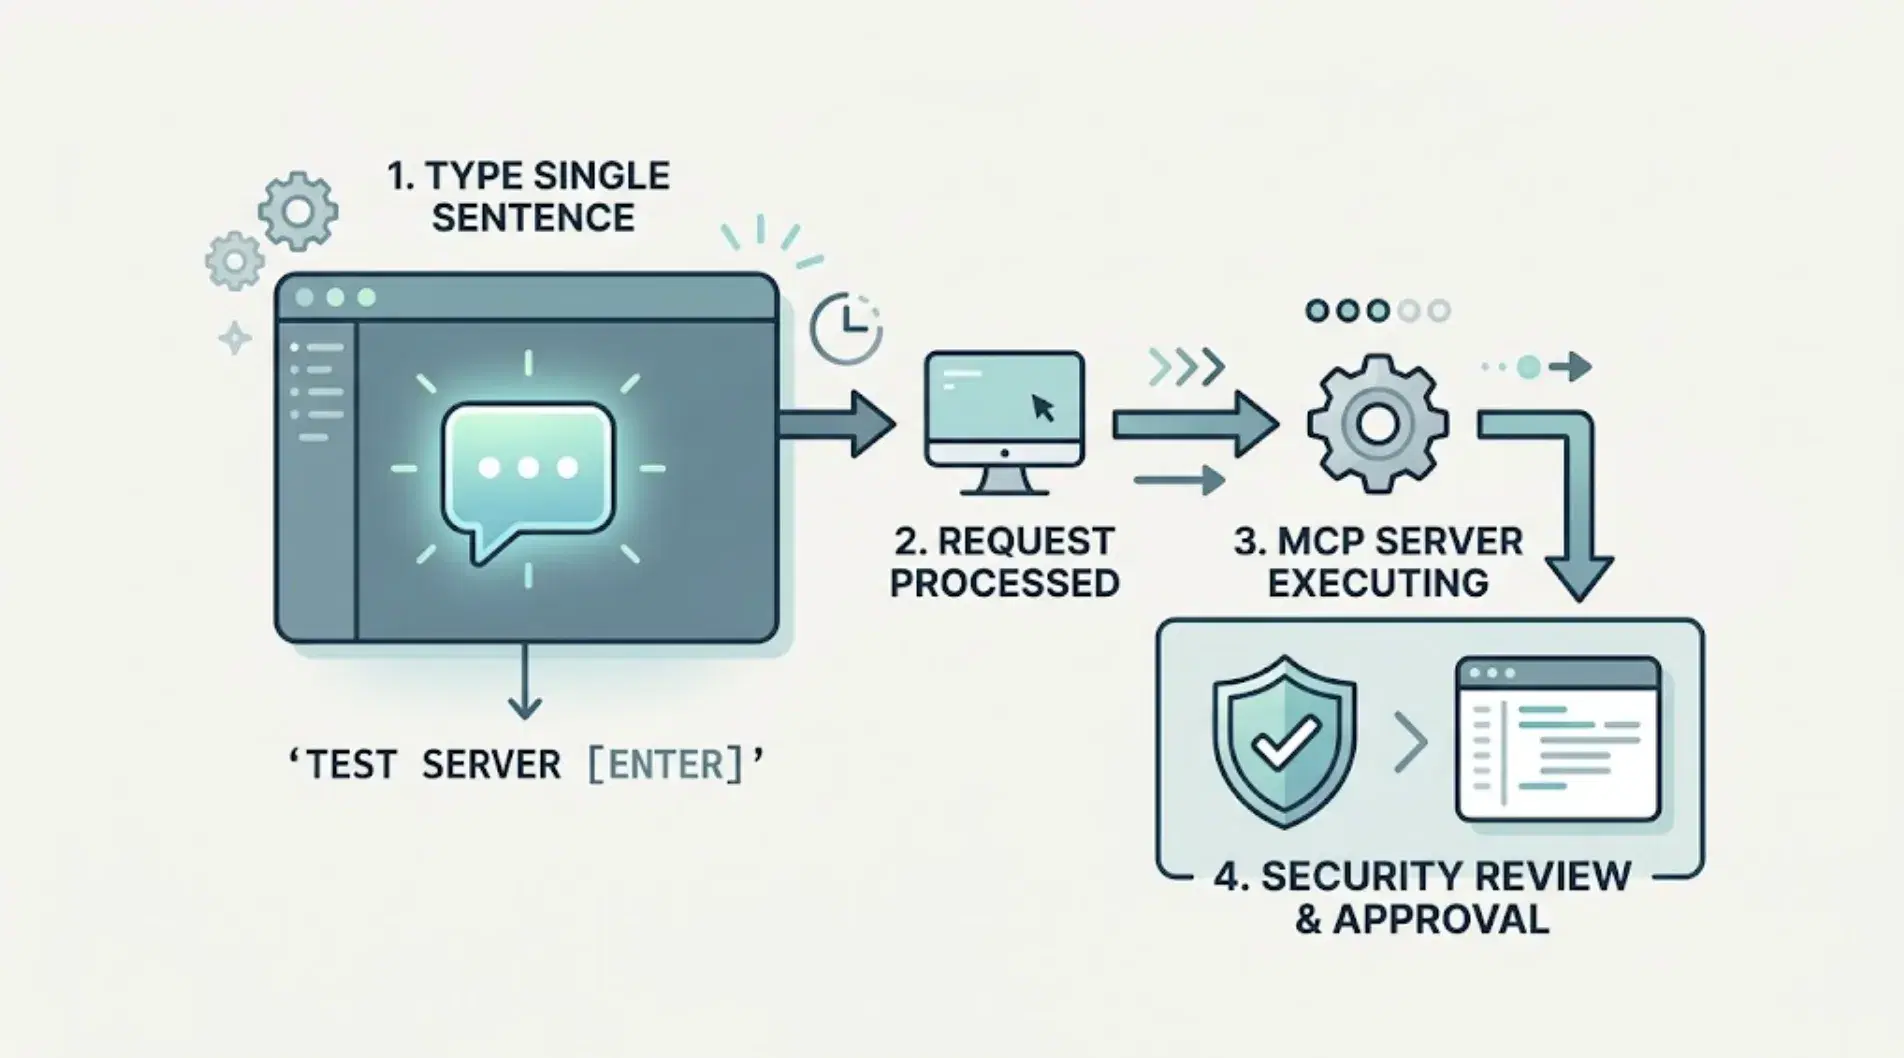
Once the MCP server is installed, running your first test comes down to a single sentence typed into your IDE's chat. Here's exactly what happens after you type it, step by step, so you know what to expect and what each screen you'll see is actually doing.
Before you start
Make sure two things are true: TestSprite MCP Server is installed and configured in your IDE (if it isn't yet, that's a separate setup step), and your application is actually running locally, on staging, or on a preview deployment. TestSprite tests the live app, not your source files, so there needs to be something real for it to open and use.
# Frontend
npm run dev # typically port 3000, 5173, or 8080
# Backend
node index.js # typically port 8000, 3001, or 4000
Step 1: Open a new chat and give the instruction
In your IDE's AI assistant panel, open a fresh chat and type:
Help me test this project with TestSprite.
That's genuinely the whole instruction for a first, general test. If you want to be more targeted, you can be specific instead: "Can you test the checkout flow in this project with TestSprite," or "Test the user authentication endpoints with TestSprite." Both work; the general instruction is the better starting point the first time, since it gives TestSprite room to discover your project's structure on its own.
Step 2: Bootstrap and configuration
The first thing that happens is a bootstrap call that detects your project type and finds the ports your app is running on. A Testing Configuration page opens automatically in your browser, where you confirm or adjust details like project type, local port, test scope, and whether login is required. If your app needs authentication to reach the flows you want tested, this is where you provide test credentials:
{
"projectType": "frontend",
"localPort": 5173,
"testScope": "codebase",
"needLogin": true,
"credentials": {
"username": "[email protected]",
"password": "testpassword123"
}
}
Use a dedicated test account here, not a real user's credentials, for the same reason you wouldn't hand a QA contractor your personal login.
Step 3: PRD generation and codebase analysis
Once configuration is confirmed, TestSprite reads any PRD you've uploaded to understand your product's intent. If you haven't uploaded one, it analyzes your codebase directly, scanning project structure, component hierarchy, API routes, and implementation patterns to build a normalized internal PRD instead. Either way, the goal is the same: anchor what gets tested to what the product is supposed to do, not just to what a UI recording or a code scan happens to notice.
This step also detects your framework automatically (React, Vue, Angular, Node.js, and others), so you don't need to tell it what stack you're on.
Step 4: Test plan and test case generation
With the internal PRD in place, TestSprite designs test cases covering happy paths, edge cases, and error states, then writes the actual executable test scripts. Depending on your project type, this might mean Playwright or Cypress scripts under the hood for UI flows, or API test scripts for backend routes. You don't write or review this code line by line unless you want to; it's generated and queued for execution automatically.
Step 5: Execution in the cloud sandbox
Tests run in a secure, ephemeral cloud sandbox, not on your machine. That means no local browser dependency, no port conflicts with other work you're doing, and automatic teardown once the run finishes. A Test Progress Dashboard opens in your browser once execution starts, so you can watch tests run in something closer to real time rather than staring at a terminal log.
Step 6: Results, analysis, and fixes
Once execution finishes, you get a report with pass/fail status, error logs, screenshots, and video recordings for any failures. If a freshly generated test fails for a fixable reason, TestSprite retries with corrected code before showing you that result, so you're reviewing runs that are actually worth your attention. When something can't run at all (an expired credential, a missing upstream value), you'll see an honest "Blocked" status with a plain-English explanation instead of a misleading "Failed."
If your IDE's AI agent is configured to apply fixes automatically, failures get packaged into a structured format it can act on directly, closing the loop from "something's broken" to "here's the fix" without you manually diagnosing it yourself.
What to actually look at in your first report
It's tempting to check only the pass/fail summary and move on, but the more useful habit for a first run specifically is opening at least one failure in detail, even a minor one, to see what a screenshot-backed, root-caused failure report actually looks like. That context makes it much easier to trust (or appropriately question) the reports you get on later runs, once you've seen firsthand what level of detail backs up a given result.
It's also worth glancing at the generated internal PRD itself on your first run, not just the test results. If you didn't upload a formal PRD, this is your one clear window into what the agent inferred your product is supposed to do, and it's the cheapest point to catch a misunderstanding, before it quietly shapes every test generated from it going forward.
What to do on your second run
Once you've made changes, whether that's a bug fix or a new feature, you'll use a different instruction depending on the situation: "Regenerate" if you've added a major feature or changed the app's architecture significantly, or "Rerun" if you've fixed a bug and want to re-validate the existing tests, or changed test credentials. Rerun re-executes existing tests to check for regressions; Regenerate builds new test plans from scratch when enough has changed that the old ones don't apply anymore.
A habit worth building from your very first run
It's easy to treat the first test run as a one-time setup task and go back to normal habits afterward. The more useful framing is to treat that first run as the start of an ongoing rhythm: run a test after every meaningful change from here on, not just when something feels risky enough to warrant it. The friction of running a test is low enough, a single sentence, a few minutes of waiting, that the main obstacle to doing it consistently is habit, not effort. Building that habit starting with your very first test is easier than trying to retrofit it in later, once you've already gotten used to shipping without checking.
Conclusion
Your first automated test with TestSprite is one sentence, a few minutes of configuration, and then a report with real screenshots and root causes instead of a guess about whether your app still works. If you haven't set up the MCP server yet, that's the only prerequisite standing between you and running this exact workflow on your own project.